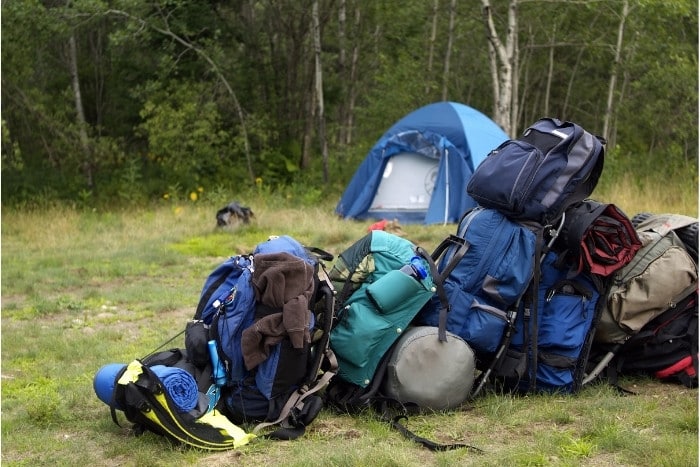
Snow camping is a unique way to experience the outdoors. Imagine a winter wonderland without crowds or a white wilderness gleaming with fresh snow. Only one thing might be holding you back from these stunning scenes: your heavy gear and backpack.
You’ll have to pack smart for ultralight snow camping. That means ditching heavy gear and packing lightweight essentials like insulated water containers and inflatable sleeping pads. Carry some lightweight clothes and snow shelter instead of heavy heaters to make your pack even lighter.
In this guide, we’ve got all the ways you can make your snow camping ultralight! We advise our readers to never sacrifice items in their pack that may put them at risk. Always pack a first aid kit, whistle, and headlamp when camping in the snow.
What is Ultralight Snow Camping?
Snow camping is any camping that involves snow. Of course, if you’re camping in the snow, it must be cold, which means packing appropriately. It is super easy to overpack when snow camping.
You may want the electric heater, or perhaps you’re tempted to pack several extra jumpers. Your camping gear can get heavy pretty quickly.
Ultralight snow camping is about packing smart, wearing appropriate clothing, and understanding how to create alternative shelters to make your trip as lightweight as possible.
You Need To Pack Smartly
Weigh your items and select gear that won’t weigh down your pack. It’s important to only pack what you need.
While an extra blanket may seem like a good idea, it will take up valuable space and add unwanted weight.
Below we’ve made a comprehensive list of what you should pack and what it should weigh to help you pack even lighter than before!
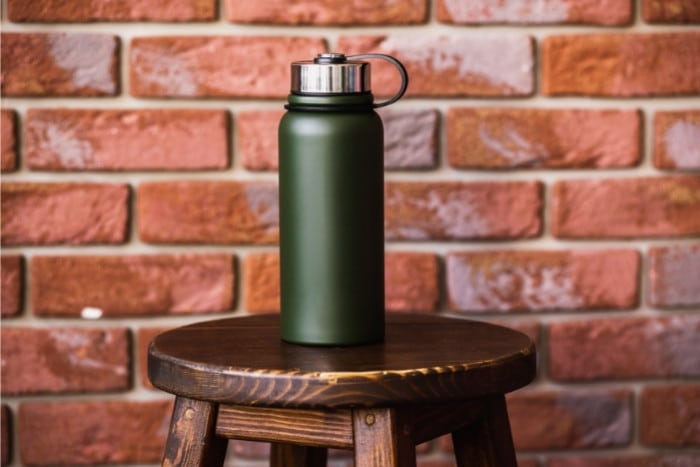
1. Insulated Container
An insulated container is essential for any snow camping expedition. You can use thicker plastic water bottles so they won’t crack if the water freezes.
You can then purchase an insulation sleeve for your water bottle to reduce the chances of your water freezing. You can find light bottles and sleeves at around 3.8-4oz each.
2. Cooking Setup
This includes your stove, fuel, utensils, pot, and windscreen. With Jetboil, you can usually combine your stove, fuel, and pot, but it will be heavier than taking the components separately.
If you choose a pot and windscreen made from titanium, it will be light and sturdy. Light cooking stoves can be found around the 11oz mark if you opt for a liquid fuel stove.
Liquid fuel will also be lighter than propane or iso-butane canisters.
3. Food
When camping in cold conditions, you need food high in carbohydrates and sugars. For lightweight meal options, choose oats for breakfast, tortilla sandwiches for lunch, and dehydrated meals for dinner.
Nuts and energy bars are great lightweight snacks too. If you plan to hunt or fish during your camping trip, you can also reduce how much food you’ll carry.
4. Compass
When camping in the snow, you need to recognize that your surroundings may change quite quickly if there’s a storm or heavy snowfall. Make sure you pack a compass so you can always navigate.
It’s better to be prepared than to get lost! Compasses are usually lightweight equipment; you can generally find them weighing 1-1.5oz.
5. Headlamp
A headlamp is as important as your compass. If the daylight hours are shorter where you’re camping, then you’ll need one of these to keep an eye on your campground in the evening.
Headlamps can reduce accidents and help you find a good toilet spot when it’s dark. Find a light headlamp from 1.3 to 1.7oz.
6. First Aid Kit
If you want an ultralight first aid kit, consider assembling your own. Most first aid kits I’ve purchased contain more plasters than I’ll use in a year.
With this, it’s best to go through what items you need in your first aid kit that you can leave without. Aim for a kit that weighs between 6 and 7oz.
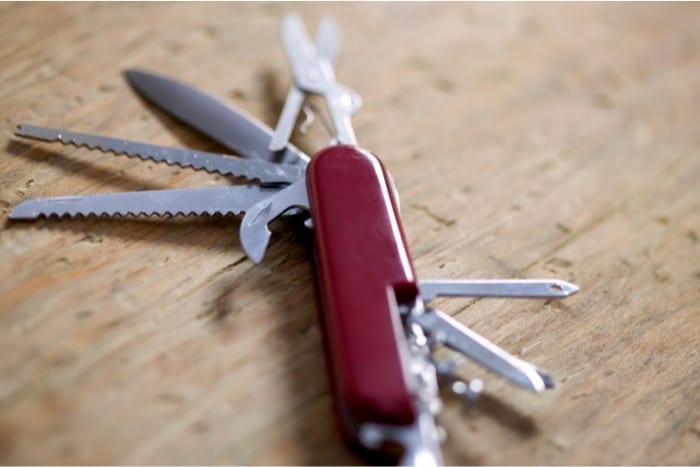
7. Swiss Army Knife
Swiss Army knives are great pieces of equipment for camping, especially when it comes equipped with a small pair of scissors. They are essential for camping survivalists.
You can use them to whittle, prepare your food or even help with first aid. You can find a Swiss Army knife weighing below 1oz.
8. Shelter
If you’re choosing to take a tent or shelter (instead of building one), be aware that this will be one of the heaviest items in your pack.
You need a tent that will keep you insulated from the snow but not create condensation inside. The Black Diamond Mega Snow Tent is a great example of a snow tent that is ultralight, weighing in at 3 lbs. 10 oz.
You can also find tents under 2lbs! If you are likely camping in the open with limited cover, you may want to consider packing a tarp. Tarps can add warmth and protection, but also weight around 16oz!
9. Firestarter
The best, lightest firestarter to pack is a lighter. It’s more than likely you’ll need a fire during the evenings or to light your stove. Instead of carrying a flint, a popular fire starter when camping, pick a lighter.
We probably recommend packing 2 lighters (one as a backup). Two lighters should be around 1oz.
10. Snow Shovel
A snow shovel is not essential for every camping trip but may be crucial if you are backcountry camping. If you are likely to build a snow shelter or dig a toilet pit, you will need a snow shovel in your backpack.
As you can imagine, snow shovels are not light. A snow shovel could add 25 to 30oz to your backpack, so it’s best to seriously consider if you need one before adding the extra weight.
A snow shovel is unnecessary if you’re not building your shelter and are staying in a campground.
11. Sleep Setup
Your sleep setup will likely consist of a sleeping pad and a sleeping bag. Your sleeping pad will insulate your sleeping bag from the ground, and your sleeping bag will insulate your body from the outside cold.
You can purchase inflatable sleeping pads, which will be much lighter. Also, opt for a sleeping bag that has down or synthetic insulation. These are usually lighter and warmer.
A combined weight of 30oz or lower is optimal.
12. Whistle
If you were to get lost or have an accident during your snowy camping trip, you’d need help as quickly as possible. Whistles are compact and light and can be attached to the outside of your backpack.
You can purchase whistles that weigh 0.1oz, and they could save your life.
13. UV Protection
While it may not be hot enough for sunbathing, snow can cause serious sunburn. Avoid this by packing a small bottle of UV protection.
If your preferred sunscreen is only available in big bottles, transfer it to a smaller, lighter bottle.
14. Hand Warmers
Hand warmers are a blessing when you’re camping in the snow. Activate the warmer, and your hands (or other parts of your body) will start to warm up in minutes.
Hand warmers are compact, so they won’t take up much room in your backpack. You can usually find light hand warmers ranging from 1-2oz.
15. Backpack
So you’ve organized everything you’ll need for your snow camping trip. The last piece of equipment that you’ll need is your backpack.
Backpacks can also be one of the heaviest pieces of gear, so ensure you’re not adding unwanted extra weight. You can usually find ultra-lightweight backpacks that weigh between 32 to 40oz.
What Clothes To Consider?
You may wonder why ‘clothes’ wasn’t included in the list above, and that’s because it needs its very own section.
Below we’ll talk you through the three important layers you need to wear while snow camping and how you can make these as light as possible.
We’ll then give you some other clothes that could be helpful to pack.
1. Three Important Layers
Base Layer
We recommend a base layer made from merino wool or thermal synthetic fabric. These materials will act as a second skin and draw the moisture away from your skin to keep you dry.
Base layers for your legs and upper body should have a combined weight of 20 to 25oz.
Mid-Layer
Your mid-layer is for serious insulation. It maintains your body temperature by trapping air from your base layer. Your mid-layer should be made from wool, down, or a synthetic mix.
Your mid-layer can be between 10 and 14oz, depending on the material you opt for. Be aware that down loses its insulating properties when wet. Opt for a synthetic mix or wool if you want to avoid a cold camp.
Outer Layer
Your outer layer needs to be waterproof. If you’re camping in the snow, wear a waterproof protective layer! The outer layer is usually made of breathable material that has taped seams.
Your outer layer can be a jacket or coat, and plenty of choices are available depending on your style. Ideally, you want a layer weighing between 10 and 15oz.
2. Sleeping Clothes
Always pack a different set of clothes for bedtime. If you sleep in your day clothes, there’s a high chance they will be sweaty. Damp clothing will make you cold at night.
Sleeping clothes may seem like an unnecessary heavy addition, but they can remain light inside your backpack. You want sleeping base layers for your top and bottom half.
These can have a combined weight of 10-12oz.
3. Extras
If you’re camping in the snow, don’t forget your hat and gloves! While it may be tempting to pack your furry winter beanie, it could add more weight than you need.
We recommend a well-insulated hat that’s made from synthetic materials or wool.
This will make it warm and light. We also recommend thermal gloves and socks, which will be lightweight and handy in the snowy cold.
Where to Stay?
You can pack even lighter if you don’t have to include a hefty snowproof shelter.
Here we talk you through some ways to save on weight by either building your shelter or choosing your shelter location wisely, so you don’t have to pack extras.
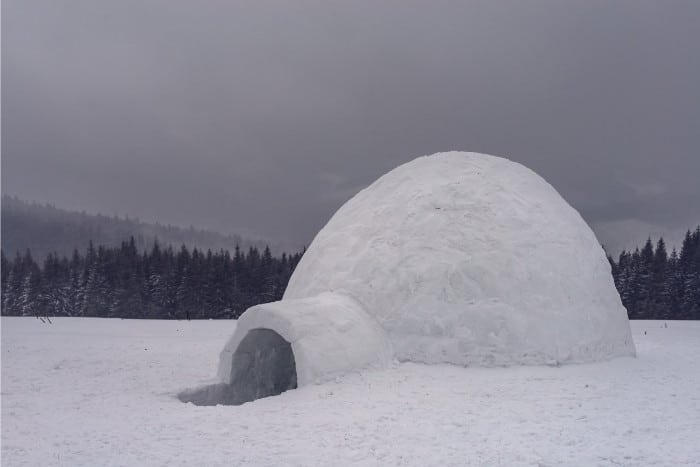
1. Igloos or Snow Caves
Your shelter is likely to be one of the heaviest objects in your pack, but you can pack lighter by building your shelter when you arrive.
Snow can be used to make igloos or caves, and these shelters can provide insulation and protection from the cold outside while also keeping your backpack ultra-light.
2. Tree Well
A tree well is a naturally occurring dip in the ground, circling the bottom of a tree. The dip is created as snow cannot reach all of the ground surrounding the tree, so instead builds up around it.
These wells can be a place to create shelter. You can even use branches to line the top of your well for added insulation.
Before using a tree well for shelter, ensure the branches and snow are stable enough to support your weight.
3. Campsites with Amenities
If you choose to stay in campgrounds, you may be offered a range of amenities. These can include running water or fire pits.
If you can ensure that your campground provides several useful amenities, you don’t need to worry about packing them.
4. Sheltered Spaces
By camping below the treeline, you will be more protected from the wind than being out in the open. It’s smart to plan and prepare for the terrain and snowy environment you’ll face.
If you know there’ll be a forest then you won’t have to pack a windshield. Just beware of snow build-up on lower branches of trees that could damage your tent.
Conclusion
We hope this guide has given you all the information you need to pack ultralight for a snowy camping trip. Always remember to pack smart and avoid filling your backpack with non-essentials.
Also, consider what clothes you’ll need to wear and pack while considering how much weight they’ll add. Finally, we’ve given you some shelter suggestions to make your backpack even lighter!